Good morning Colonels!
We are back and we hope you packed your bag because today we will land in the desert environment, exploring a little bit deeper what happened in Operation E and Operation Compass with an overview on the peculiar historical events, and how we managed to include them in this campaign.
ENVIRONMENT
Let’s start talking about the desert environment: a place where resources are scarce, and sand is your best friend or your worst enemy—mostly because you find it even in places you wouldn’t want to.
We wanted to capture that feeling, and we shaped the terrain to let you make the most of it: dunes provide high ground, escarpments offer cover and vantage points for ranged units, and the map features a good mix of open desert and narrow passages.
Of course, this can be a double-edged sword. Moving across the map isn’t always easy, especially for heavily armored units. It’s all about balance: you have to maximize what you have based on the terrain and never, ever push your army into an area where it will move too slowly and become an easy target for the enemy.
Let’s get practical
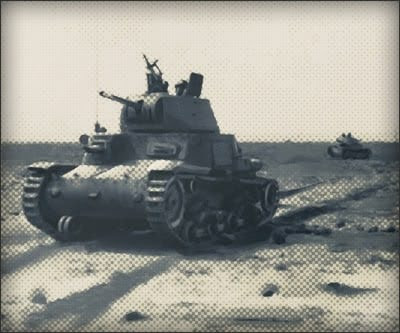
In the first Italian map (Sollum), the Regio Esercito is tasked with launching a swift attack to capture the city of Sollum, currently under British control.
The terrain features a vast stretch of dunes, partially enclosed by escarpments in the central and southern parts of the map, while a minor road runs east to west, cutting across the battlefield.
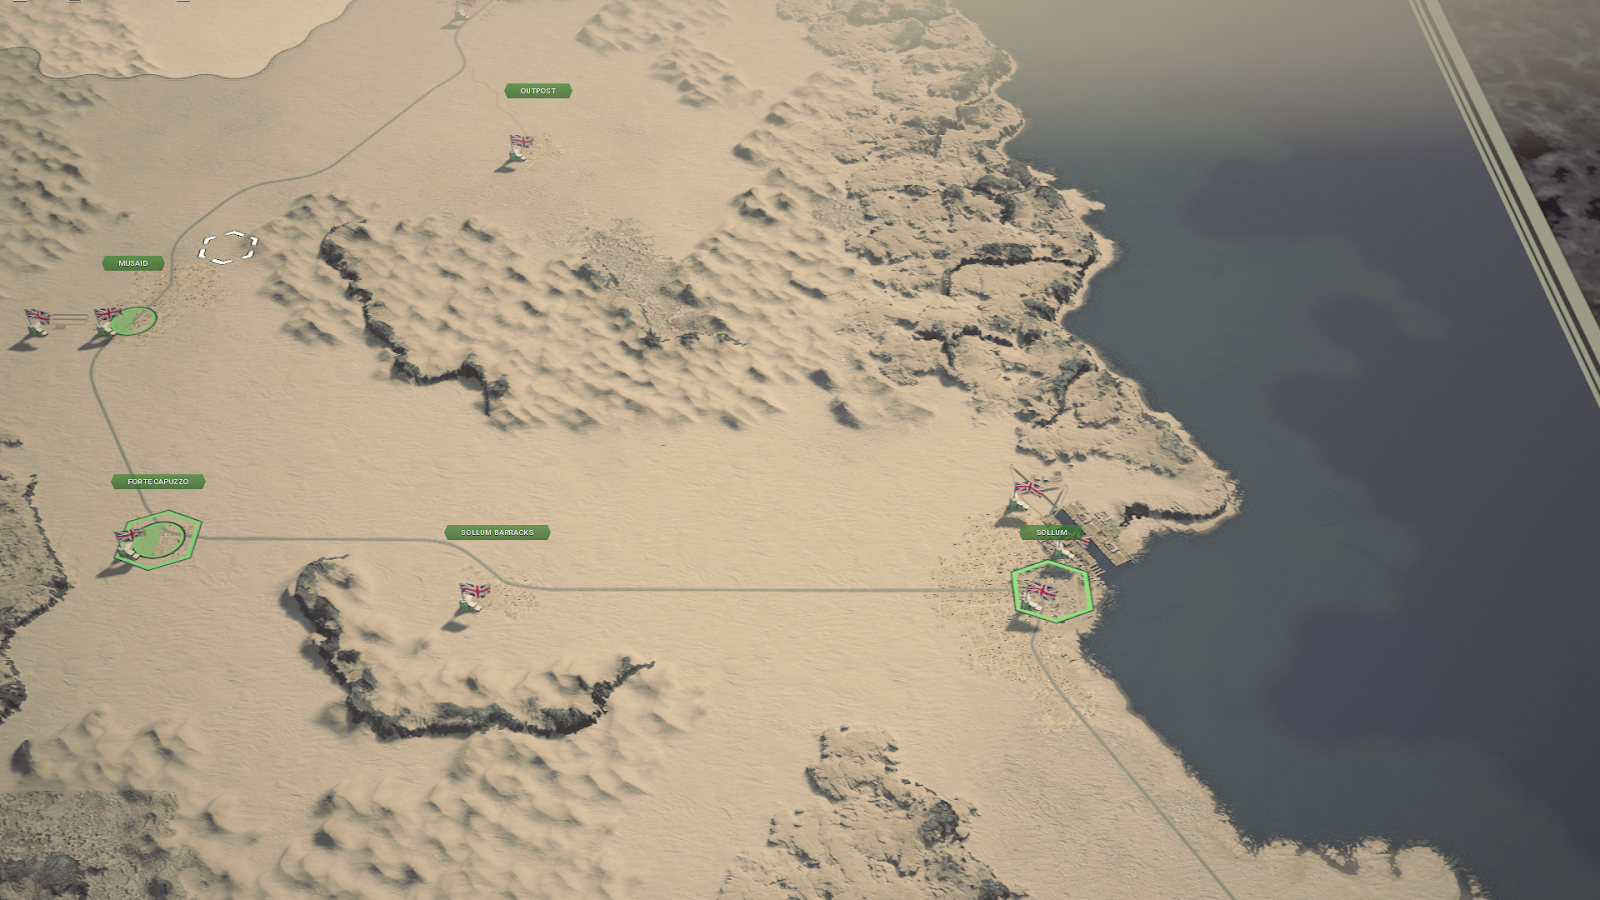
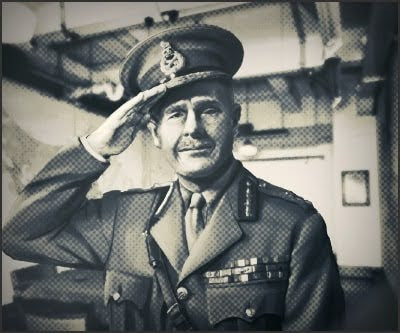
This time, the Italian commander has several options—and they’re outlined directly by the briefing officer himself, General Mario Berti.
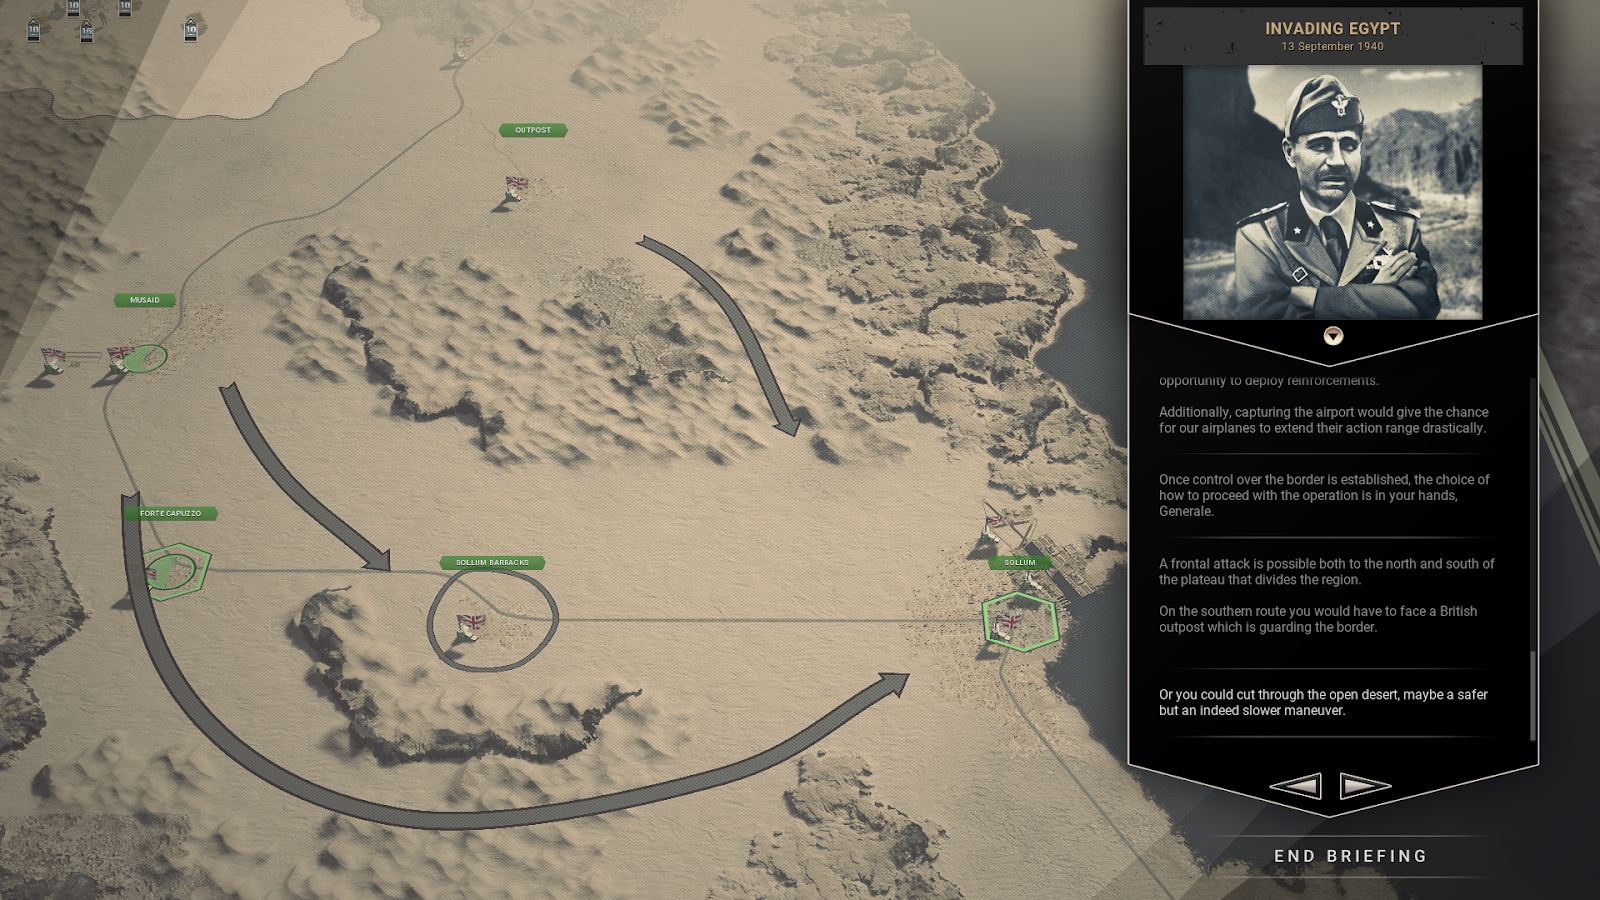
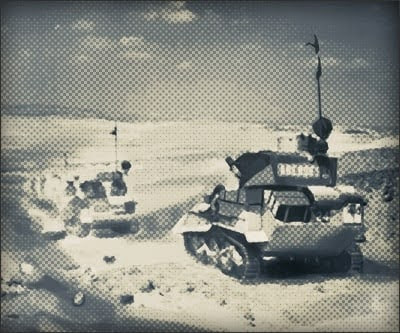
One approach is to use the central road, which allows for rapid movement but is guarded by a British outpost and is likely patrolled by additional enemy units. So, what to do? The obvious answer: cut through the open desert and try to surprise the enemy by attacking from an unexpected direction! But it’s not that simple…
Moving through open desert is slow and treacherous, and the player risks losing momentum, stretching their forces too thin, and becoming an easy target for enemy recon units and tactical bombers.
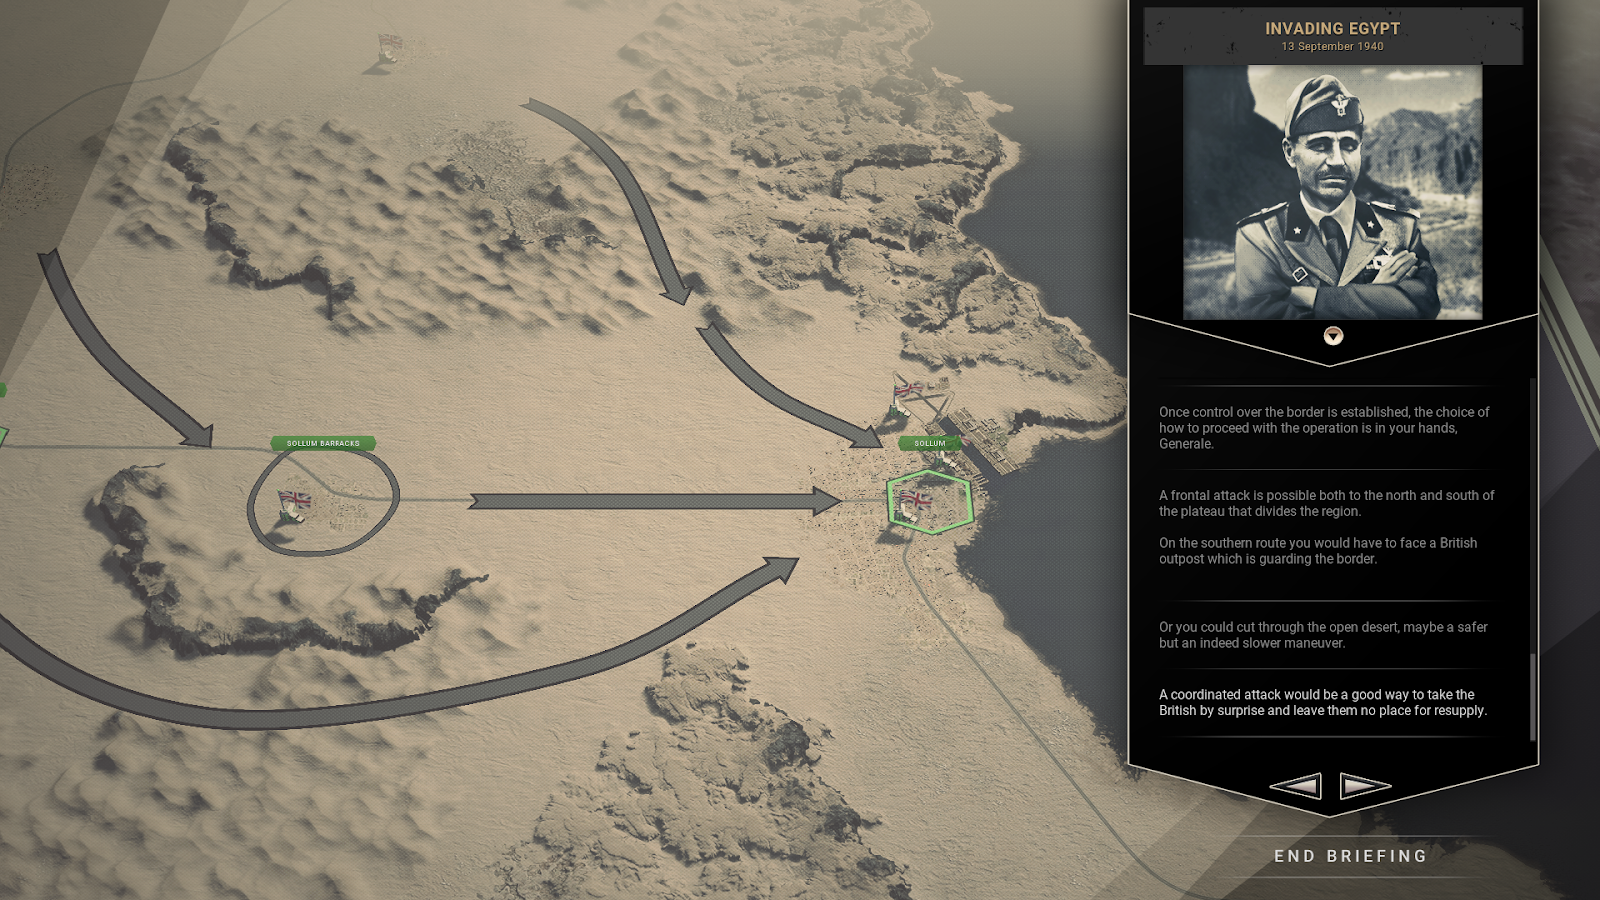
All in all, as Berti himself suggests, a coordinated attack from multiple fronts might be the key to solving this puzzle. But, as always, success depends on multiple factors—many of which are in the player’s hands: what units are in the core army, which traits have been assigned to the commander, and which heroes are available…
In the end, there’s no single “correct” solution—only strategies that align with your playstyle and the resources at your disposal. But whatever approach you choose, it all comes down to a careful analysis of the terrain.
Realism
To maintain historical accuracy, we aimed to stay as true as possible to the real terrain layout, as well as the distances and proportions between key locations. We did our research and based our scenarios on both historical maps and Google Earth to ensure maximum accuracy. That said, this is still a game, so we took a few creative liberties here and there—but only when they enhanced the gameplay.
Additionally, to reinforce immersion, we kept the original place names as they were used by each faction. For example, in this context, Tobruk is referred to as "Tobruch" by the Italians.
Not only sand
We are in North Africa, it’s all desert and sand! Well, not quite. 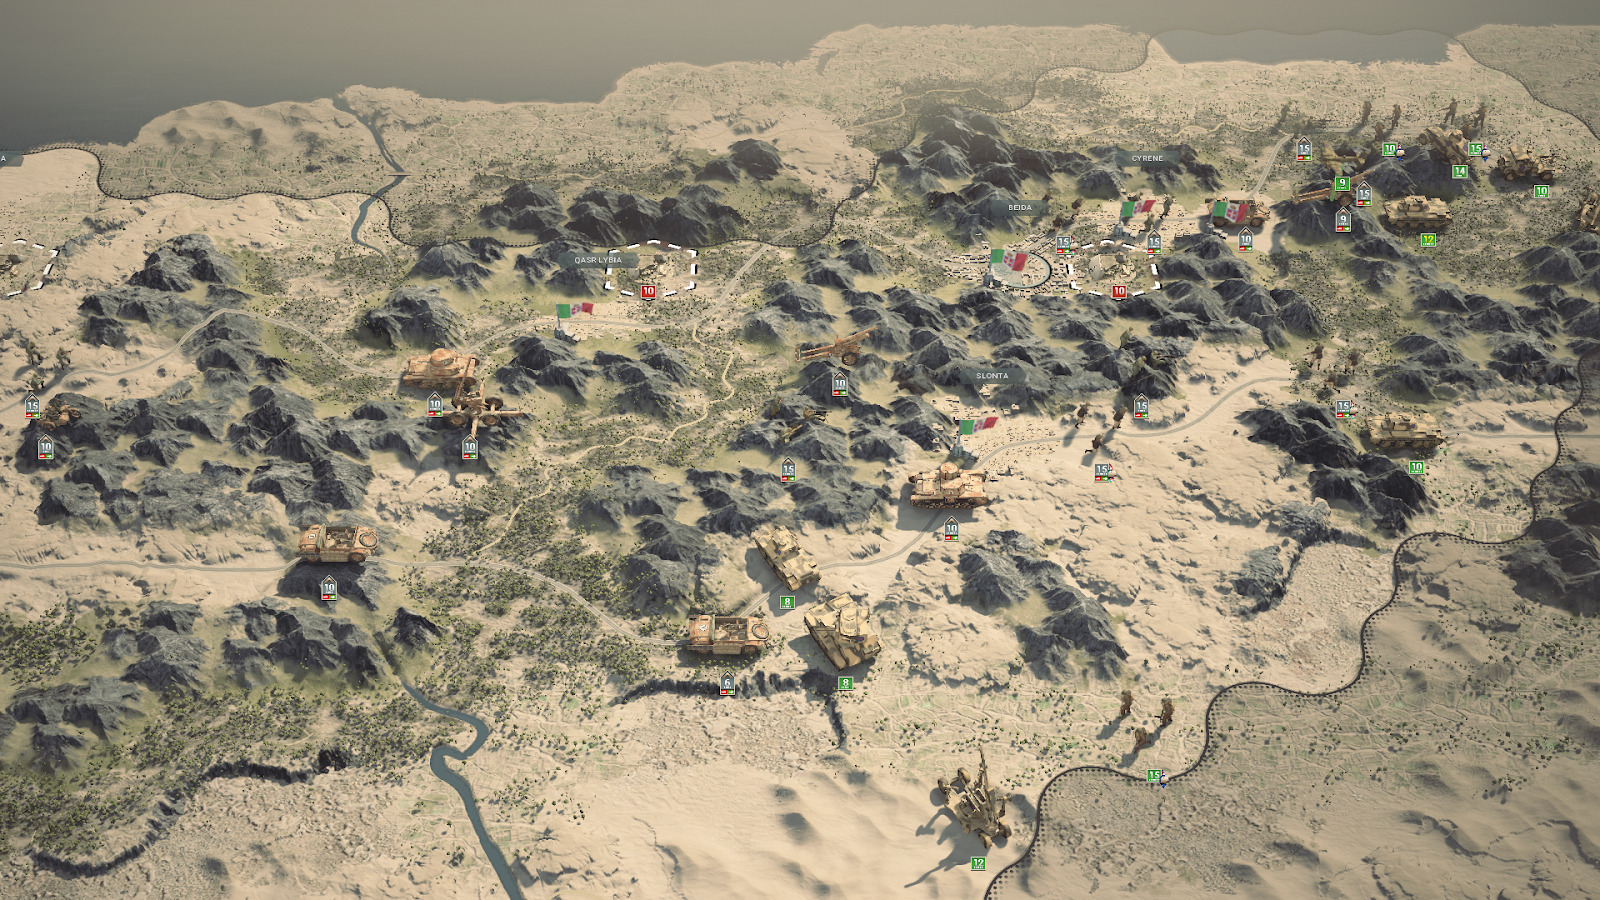
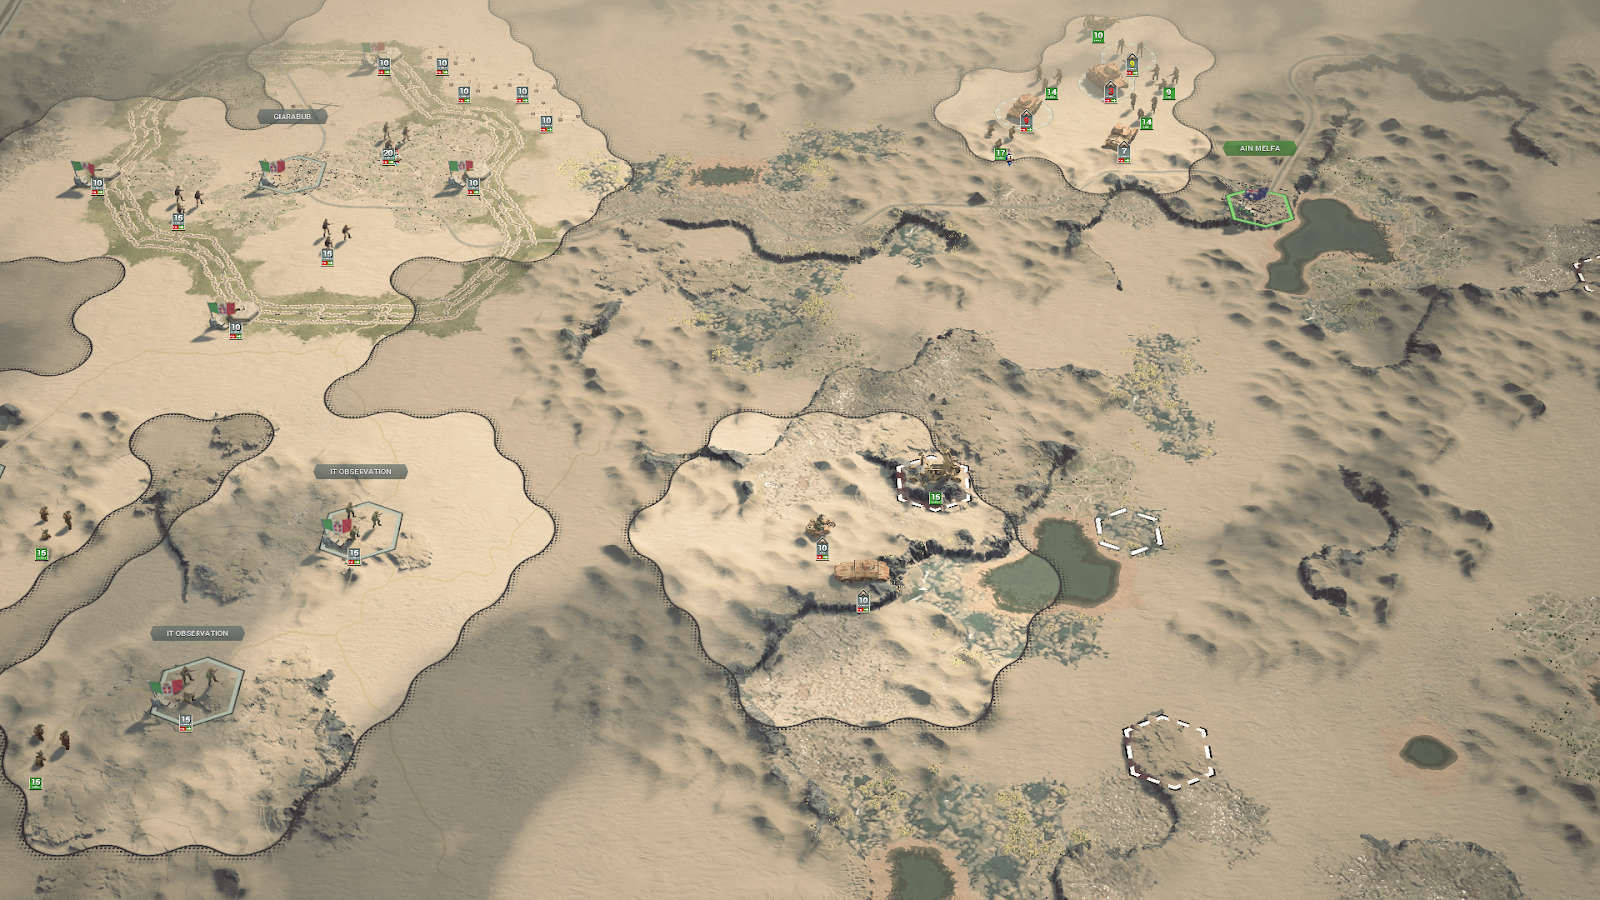
In fact, along the Cyrenaica there are the so-called “Green Mountains”, that gave us the opportunity to explore variety and create a couple of scenarios where the mountains play a big role. Narrow passages, strategic placements, ambushes and encirclements are the main characteristics of these scenarios. With the British faction you will have to try to penetrate the holdout defense of the Italians, whilst in the opposite case, you’ll have to manage the British rush while covering and retreating when needed.
In both cases, these scenarios offer a different approach to the environment, and, as always, you will have to understand and exploit it to not be doomed.
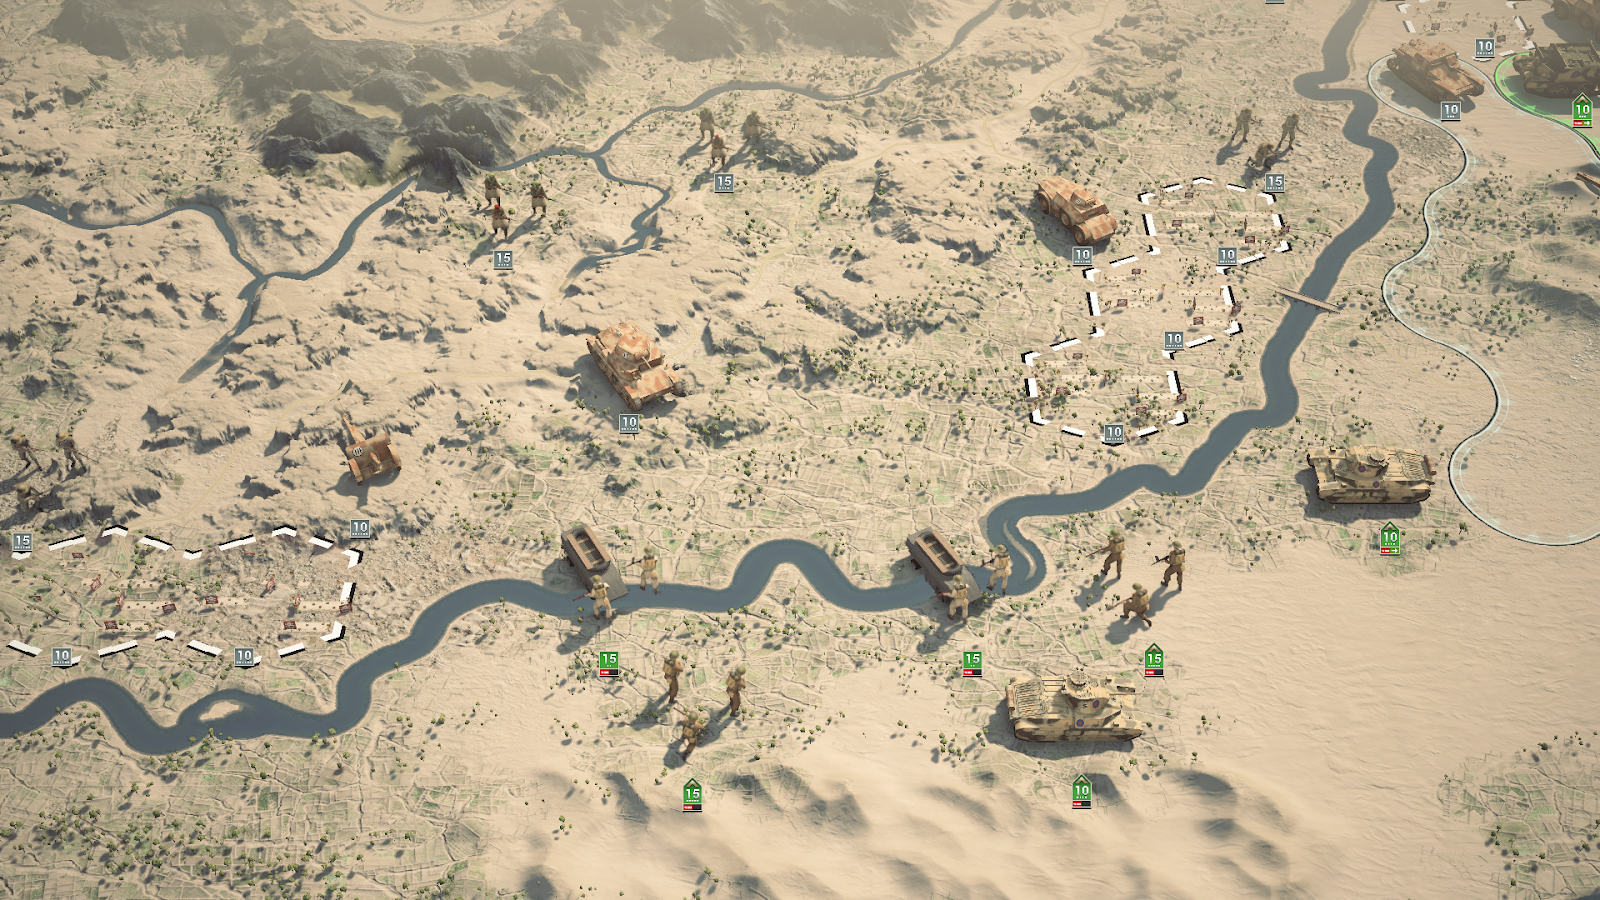
Additionally, the closer we get to the Green Mountains, the more rivers we encounter. Therefore, we wanted to include them in a few maps, giving them an important role as obstacles to be overcome.
All in all, we can consider the desert environment as a third faction. Making it your ally is up to you!
HISTORICAL EVENTS
For the ones who like history—but also for the ones who don’t like it—you are in the right paragraph. We want to give you an overview of the historical events that inspired us to create some missions and situations in this DLC of Panzer Corps 2.
Operation E and Operation Compass - A rapid overview

Operation E was Italy’s attempt to invade Egypt from Libya in September 1940. Led by Marshal Rodolfo Graziani, the Italian forces advanced about 100 kilometers into Egyptian territory but halted at Sidi Barrani, lacking supplies and strategic coordination. This slow and hesitant advance left them in a vulnerable defensive position.
Operation Compass was the British response, launched in December 1940 under General Richard O’Connor. Despite being outnumbered, British and Commonwealth forces executed a swift and well-coordinated counterattack. They routed the Italians, pushing them back over 800 kilometers, capturing key positions like Bardia and Tobruk, and taking over 130,000 prisoners.
This victory marked a turning point in the North African campaign and exposed the weaknesses of the Italian military in the region.
Peculiar events and historical facts
Throughout these operations, we encountered some peculiar events, which we incorporated as missions within the gameplay. Here are a few of them:
Where are my units?
Starting from one that made us smile a little bit: the lost Italian units in the desert.
When the Italian invasion of Egypt began in September 1940, the Maletti Group, [Raggruppamento Maletti, Major-General Pietro Maletti], lacking experience of desert conditions, got lost leaving Sidi Omar, disappeared and had to be found by Italian reconnaissance.
So we wanted to include this particular episode as a bonus objective in the first map, in both campaigns.
Exploiting the momentum
The Italian plan was to attack Marsa Matruh, but scarce resources forced Marshal Graziani to halt the invasion.
The British were prepared for the Italian advance, but when it did not materialize, they decided to launch a counterattack.
Wavell ordered a limited operation to reconquer Egypt.
Operation Compass, for administrative reasons, was originally planned as a five-day raid but consideration was given to continuing the operation to exploit success, pushing forward into Libya.
On 28 November, Wavell said:
“I do not entertain extravagant hopes of this operation but I do wish to make certain that if a big opportunity occurs we are prepared morally, mentally and administratively to use it to the fullest.”
They truly were, and they seized the opportunity.
Wait, are they attacking us? But I’m still in my pajamas!
During the British advance on Nibeiwa, the Italian air reconnaissance spotted British vehicle movements in the area, but Maletti, who was in command of the Nibeiwa camp at the time, was apparently not informed.
Under cover of the noise from the British artillery bombardment on the east side of Nibeiwa, British tanks and lorries drove around the west side of the camp, misleading the Italians.
The Italian tank crews had no time to react before their tanks were knocked out. The British tanks broke down the walls and drove into the camp, where the Italians had just breakfasted; Maletti held the ground armed only with a machine-gun in his hands and died in battle still in his pajamas.
If we can’t have it, neither can you.
Another episode that highlights how poorly the Italians were prepared and disorganized: the sinking of the San Giorgio ship.
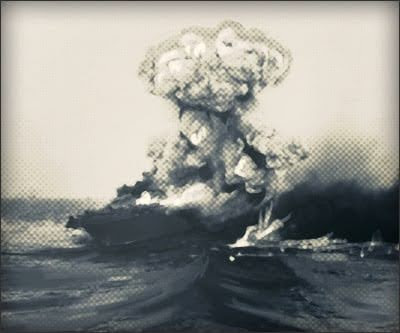
This episode stands as a symbol of the challenges faced by the Italian forces during the campaign.
The San Giorgio, a heavily armed cruiser stationed in Tobruk, was considered a valuable asset for coastal defense.
However, due to a lack of coordination, proper planning, and efficient execution, as well as being encircled by British ships, the Italians were forced to scuttle the San Giorgio to prevent its resources from falling into British hands.
The sinking not only reflected the broader logistical and operational shortcomings of the Italian military but also demoralized the forces stationed in the area, further complicating their already precarious position in the war.
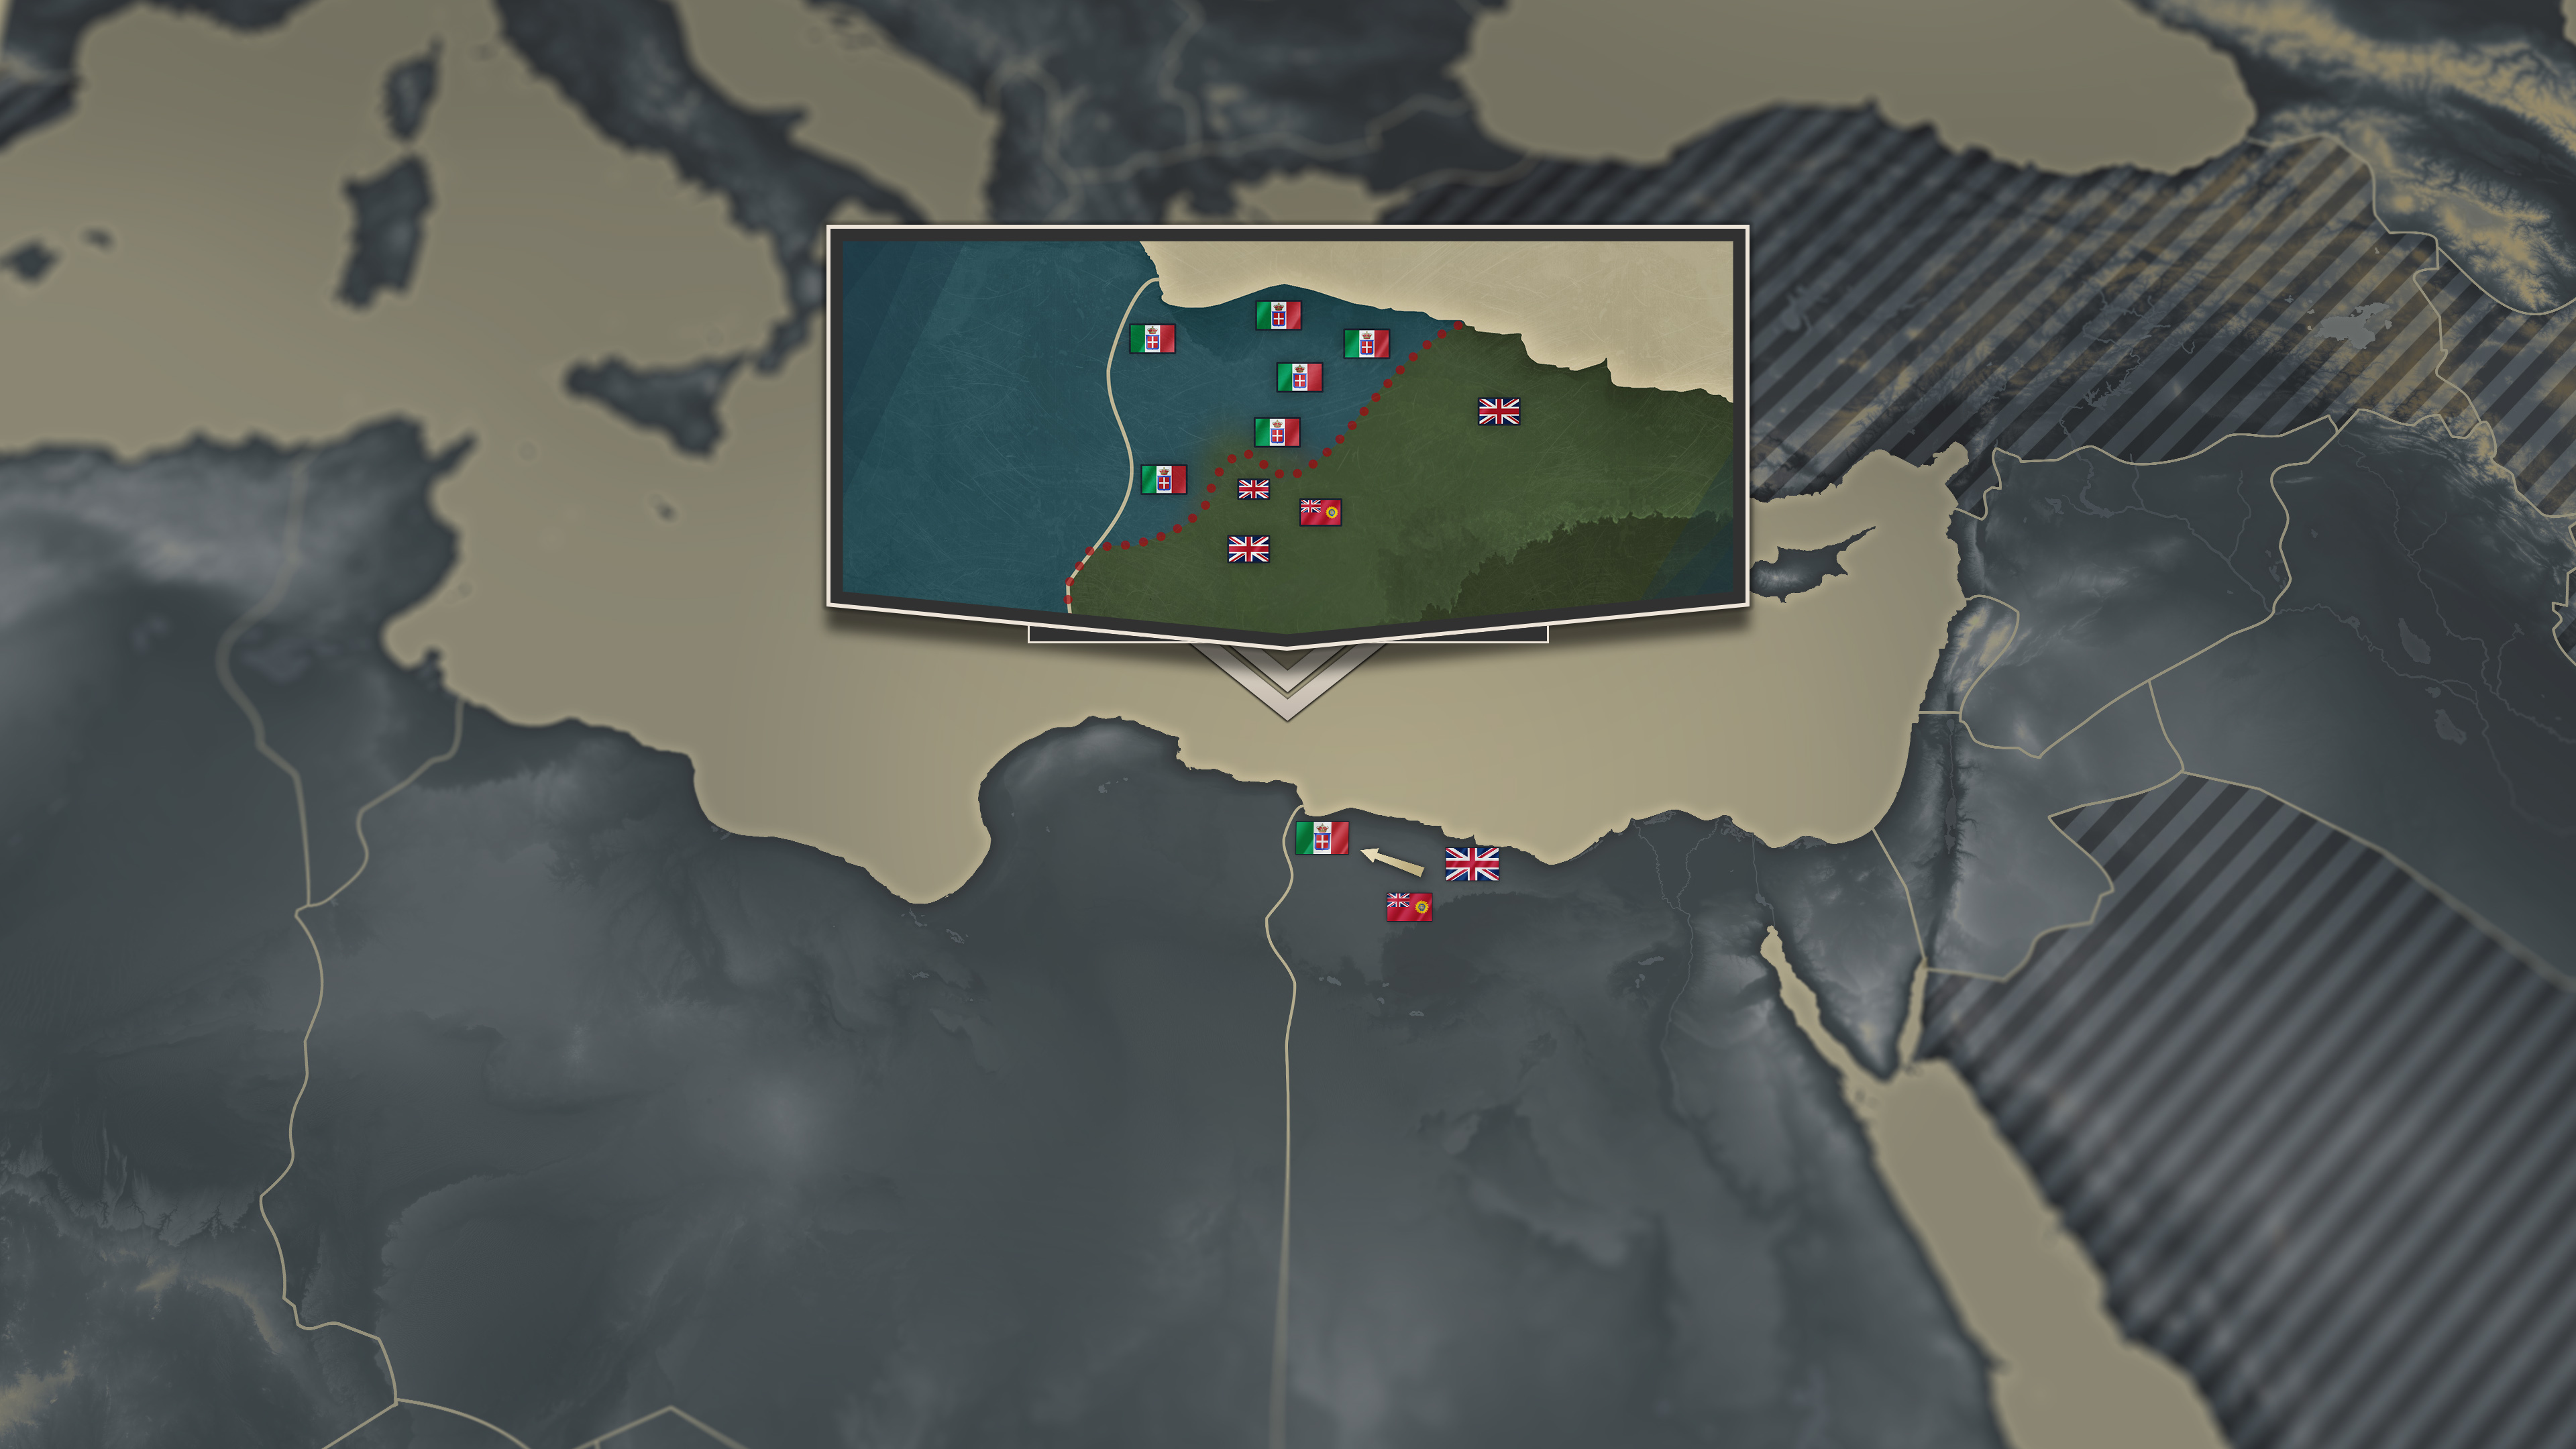
Visual Addition
To enhance immersion, provide an overview of events between maps, and give more context on army movements, we have added visual elements between certain scenarios.
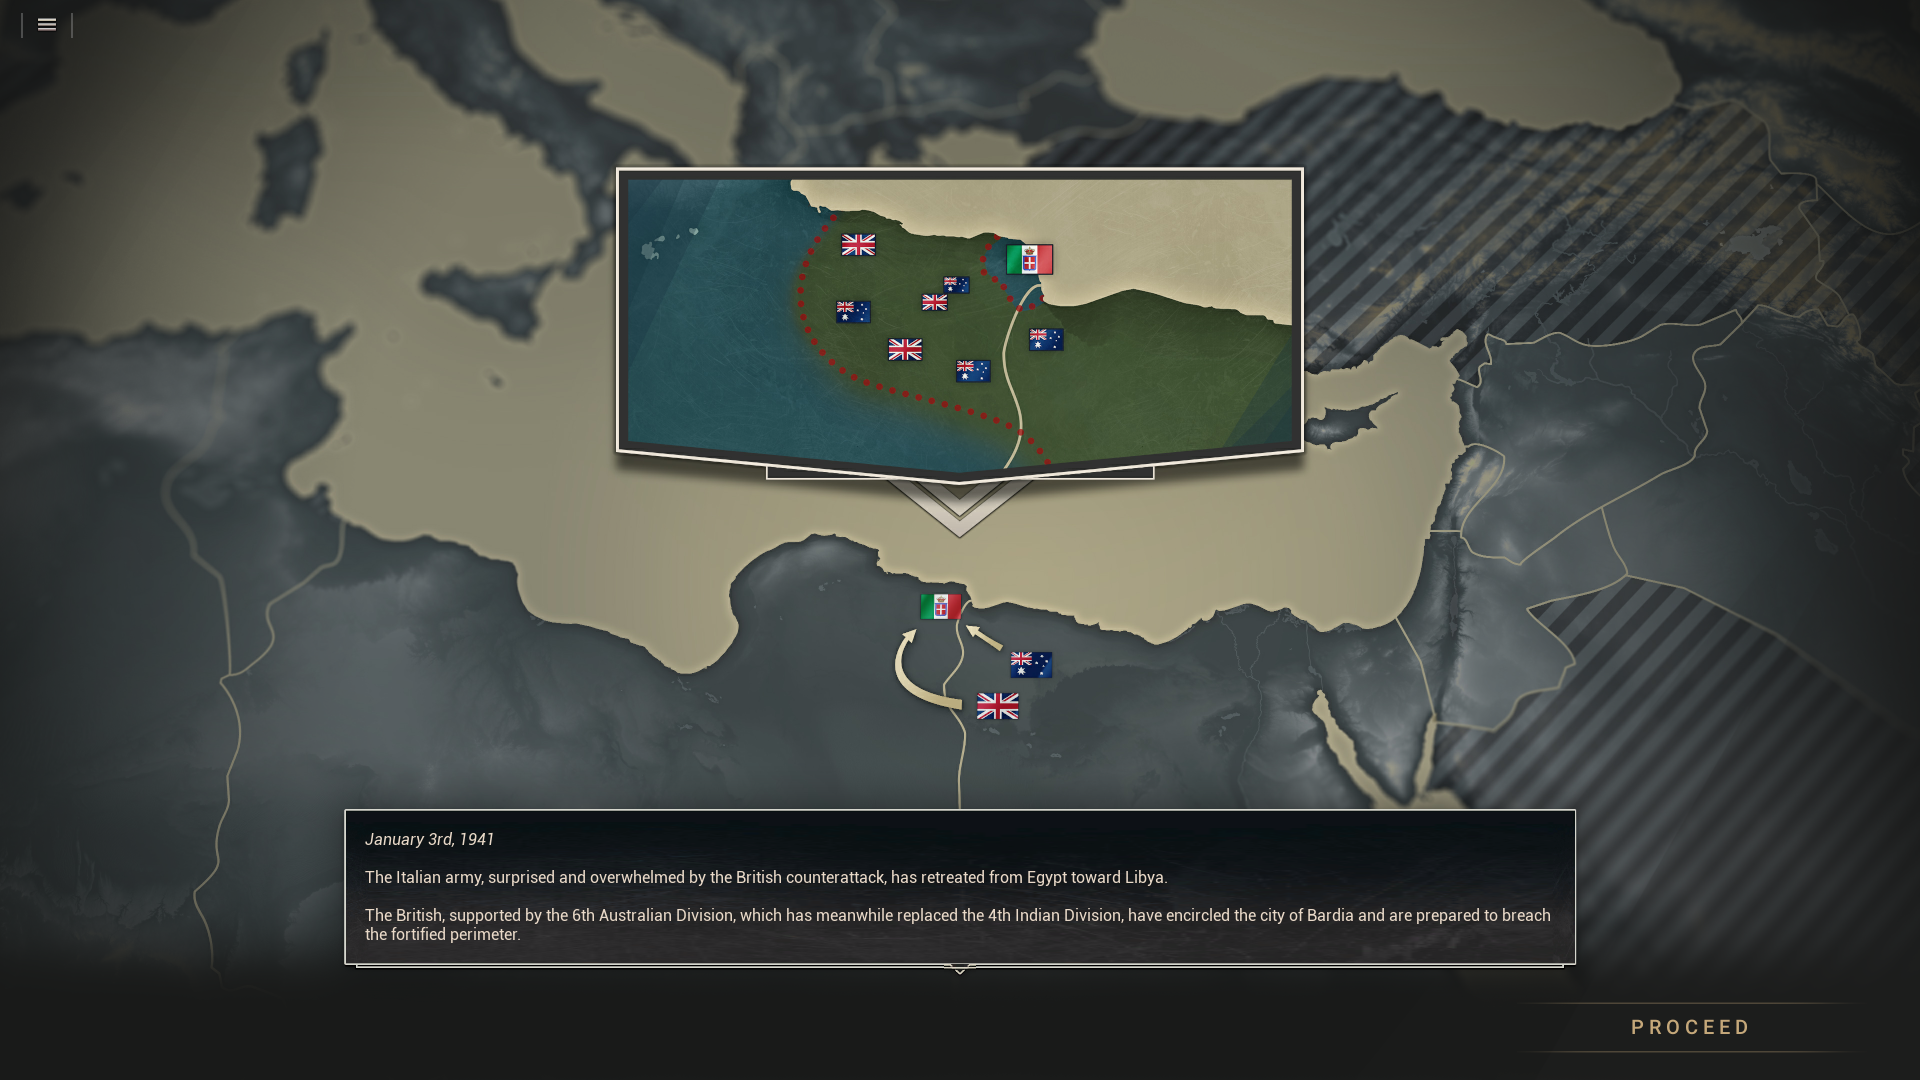 These additions will help you understand the geographical positions and support the narrative layer.
CONCLUSION
Thanks for joining us again in this second Dev Diary. Now that you know what you will face and you have your bags packed, we are ready to go balls to the wall!
See you in the third and final Dev Diary.
At ease, Colonels!